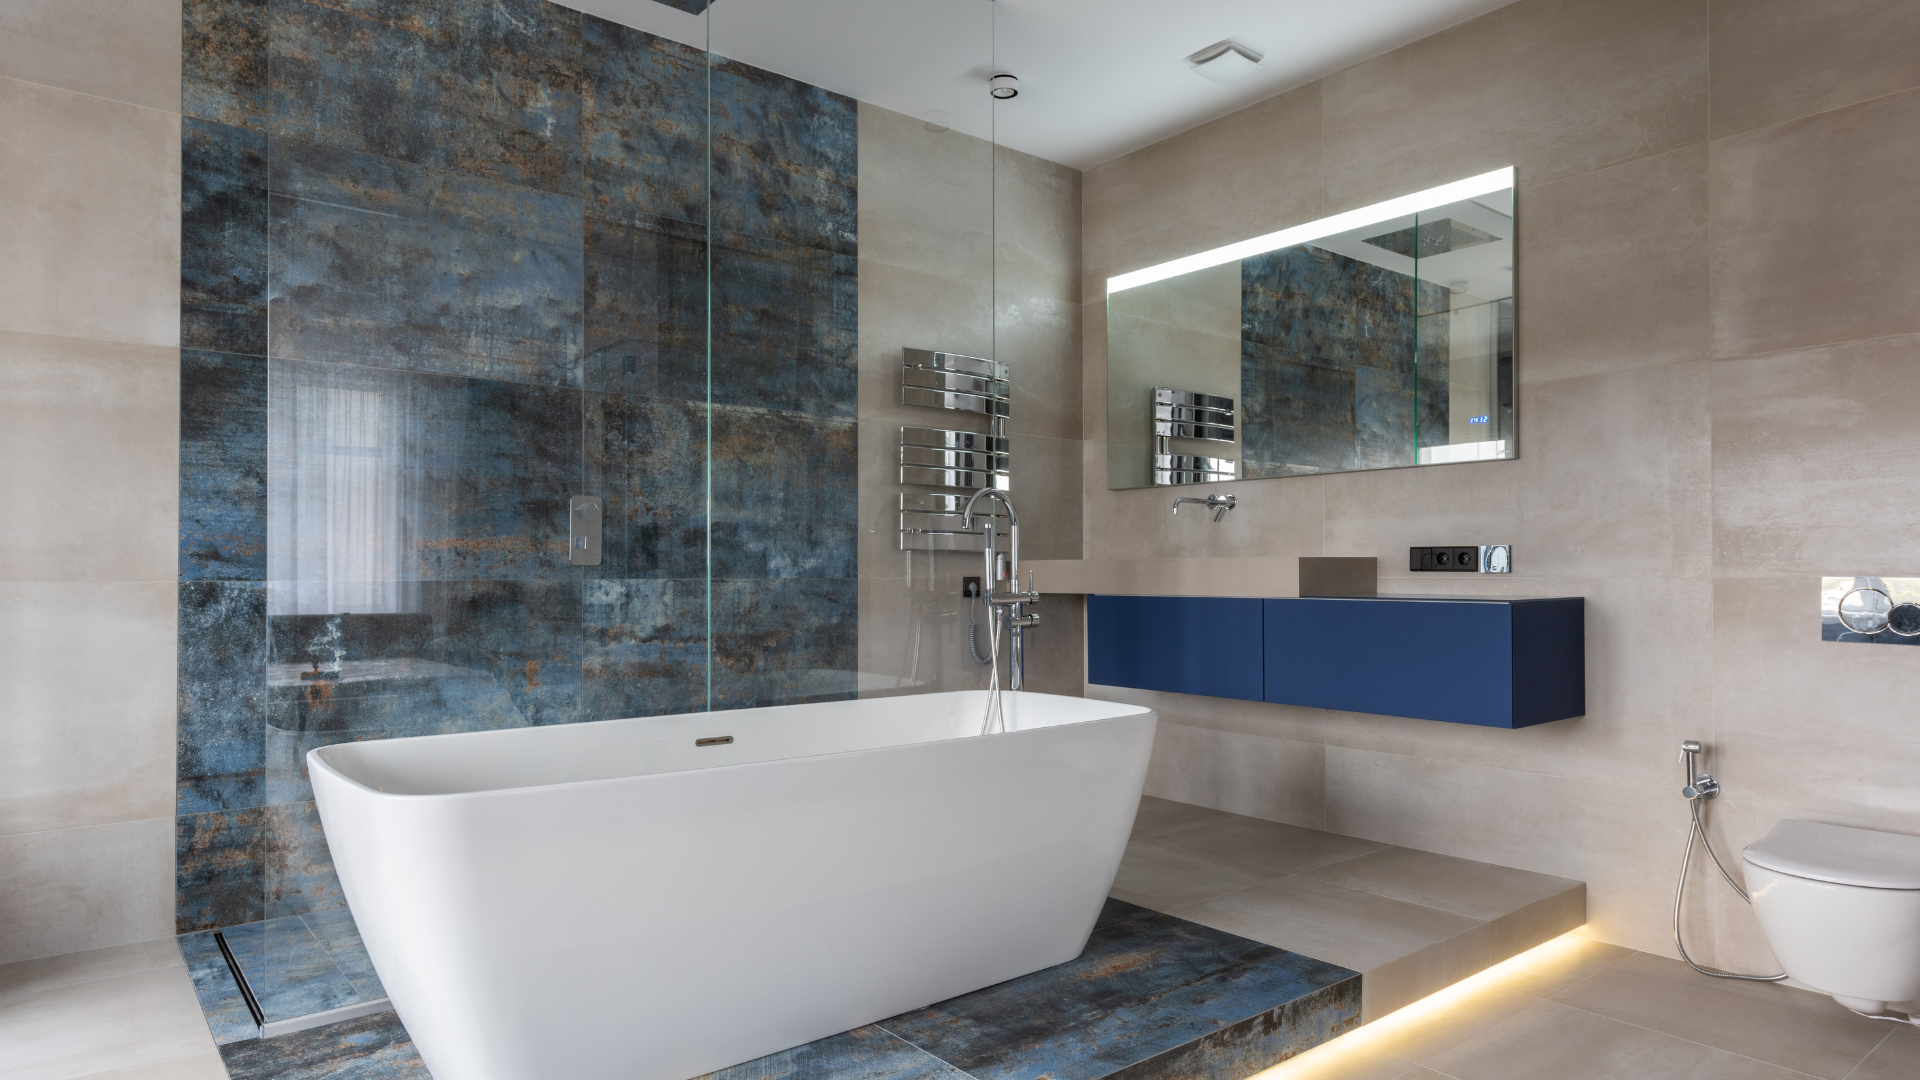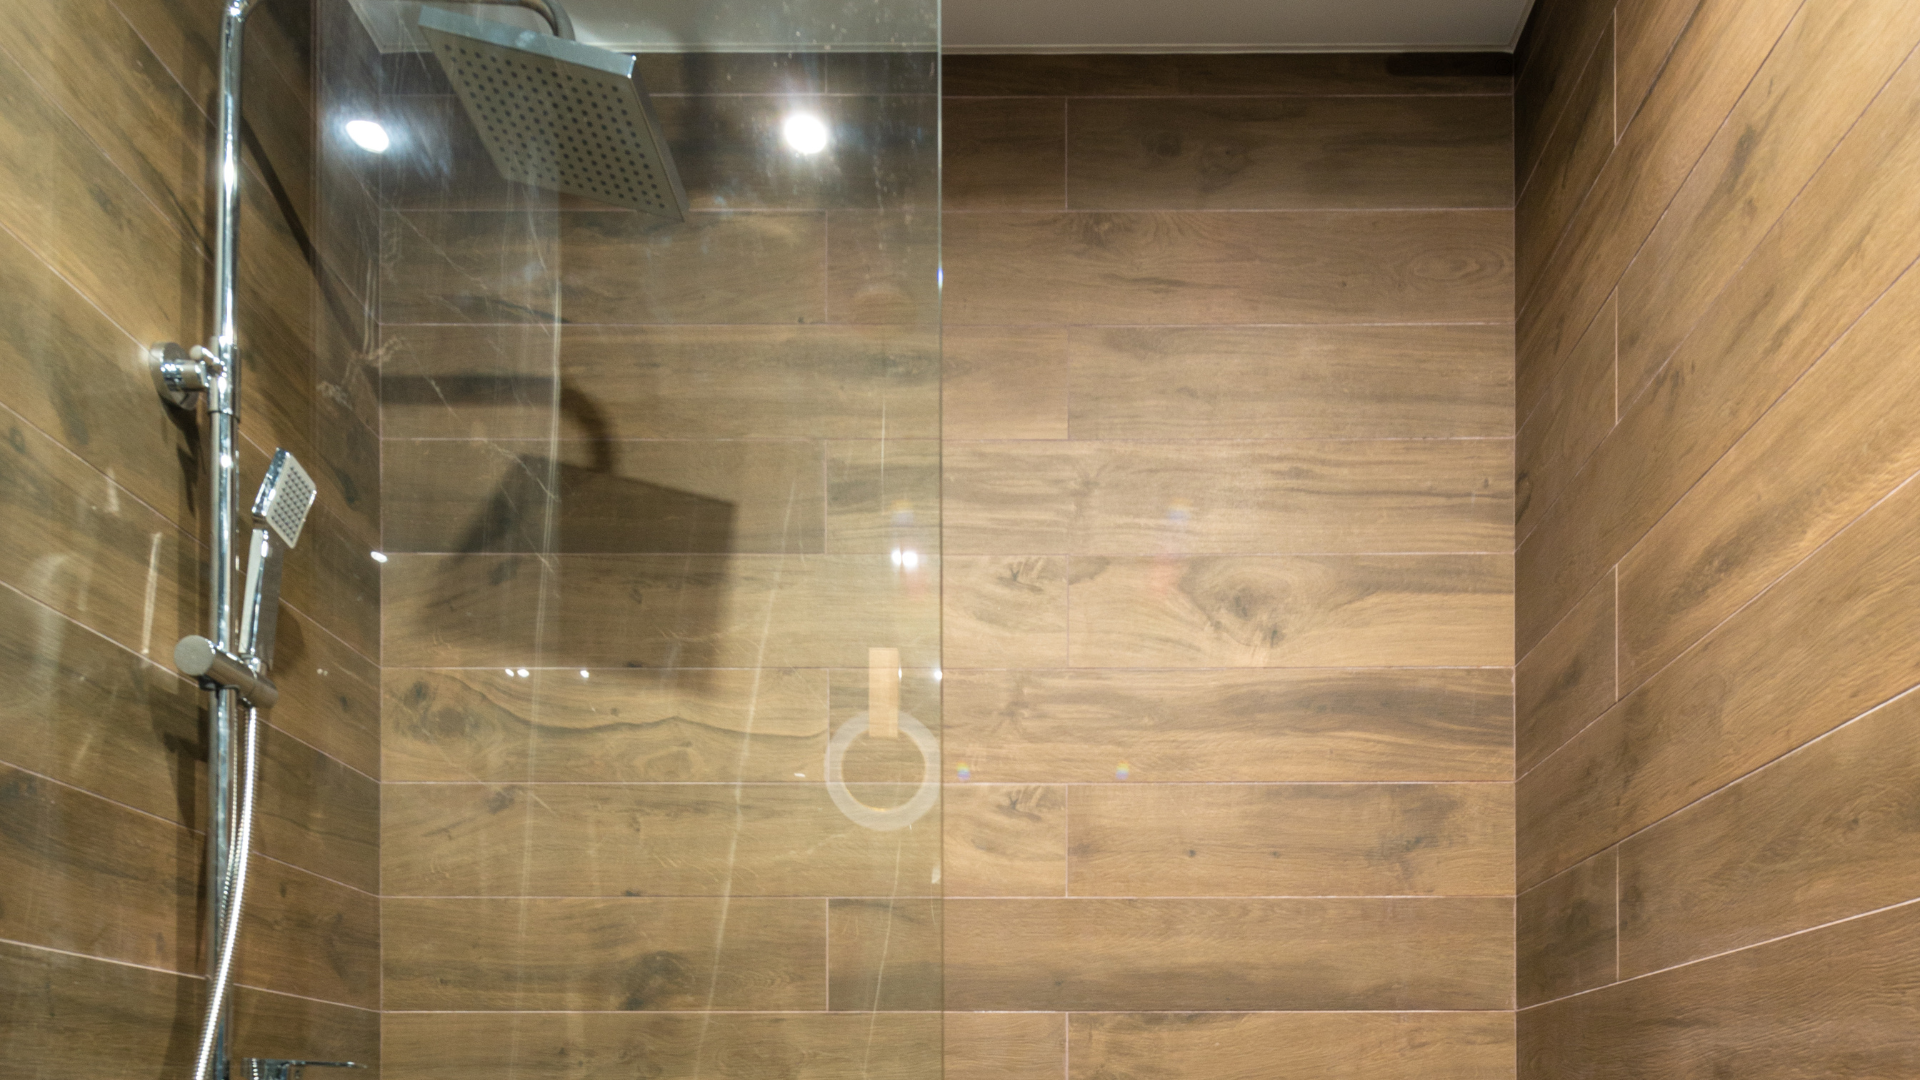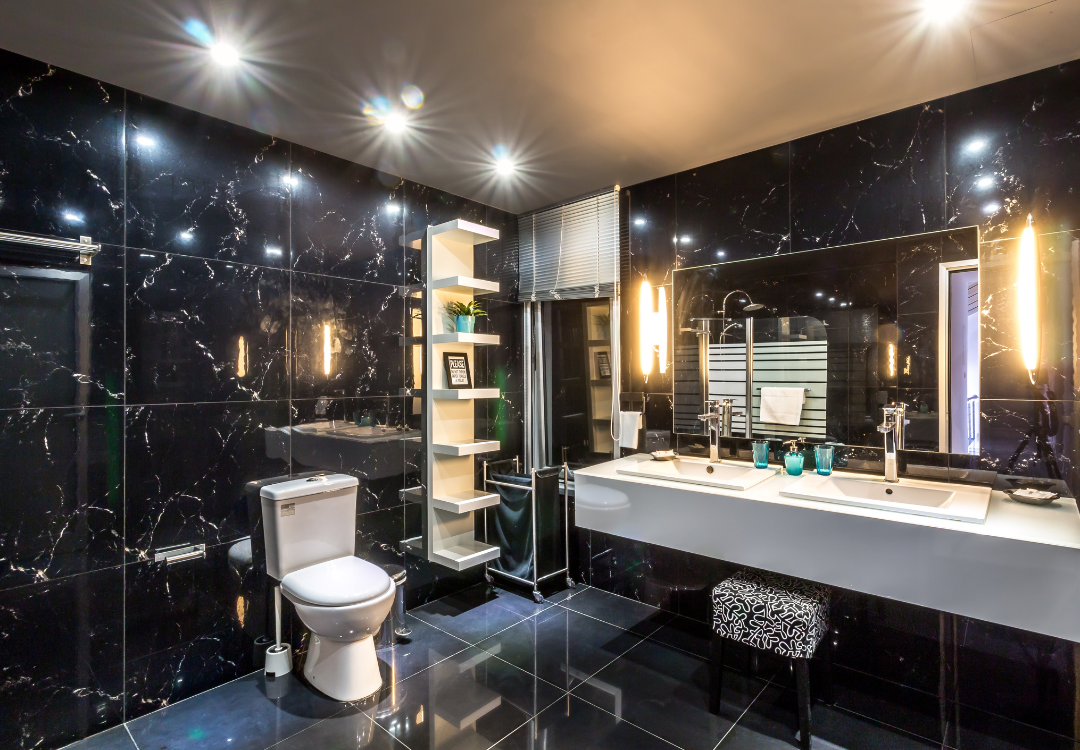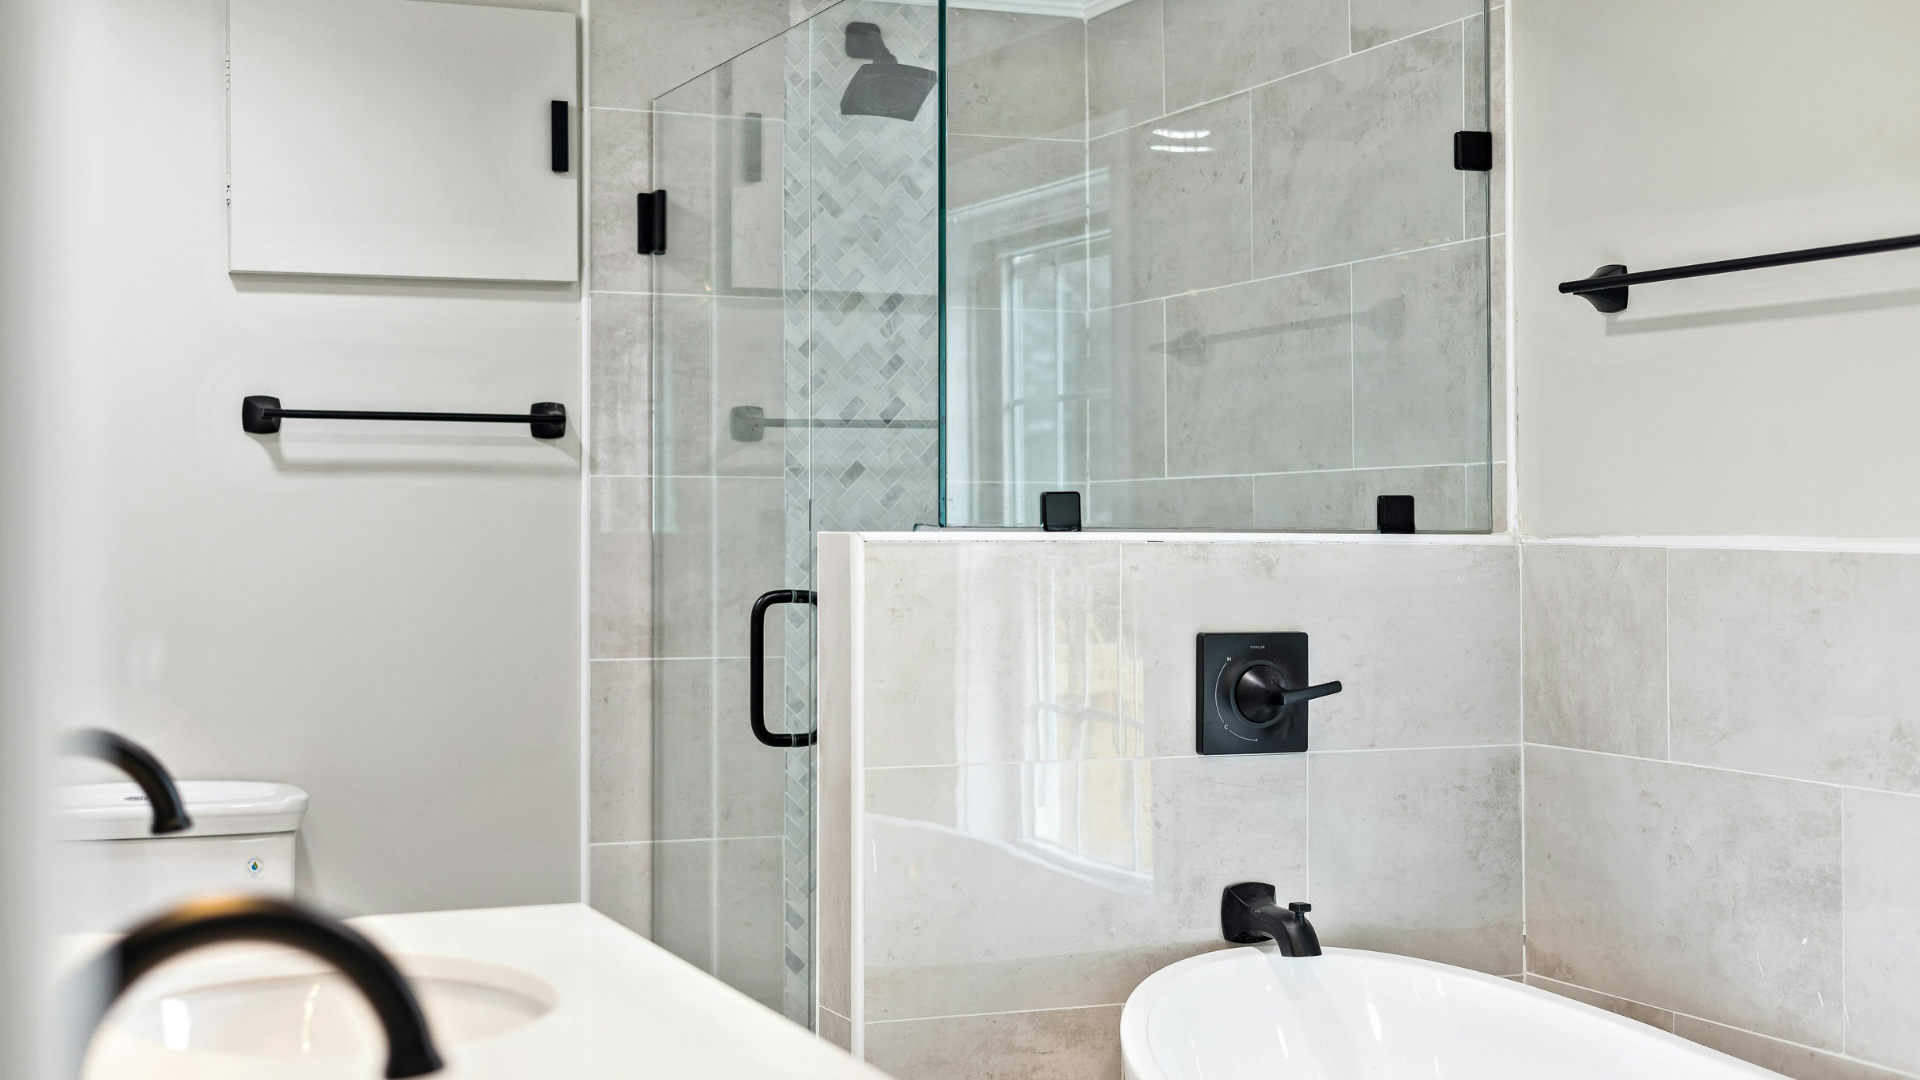
Expert Tips for Proper Surface Preparation Before Tile Installation in Little Rock, AR
Clean the Surface Thoroughly
Before starting any tile installation, it's essential to ensure the surface is clean and free of debris. Dust, dirt, grease, or old adhesive can affect how well the tiles bond to the surface, leading to uneven results or premature tile damage. Use a broom or vacuum to remove dust, and wipe down the area with a damp cloth to remove any grease or stains. Make sure the surface is completely dry before proceeding.
Ensure the Surface is Smooth and Level
A smooth, level surface is crucial for successful tile installation. Uneven or rough surfaces can cause tiles to sit improperly, creating an uneven finish. Check for any bumps, dips, or cracks on the floor or wall. If you find any, use a floor leveler or patching compound to fill in low spots and smooth out rough areas. A level surface will not only improve the final look but also prevent tiles from shifting over time.
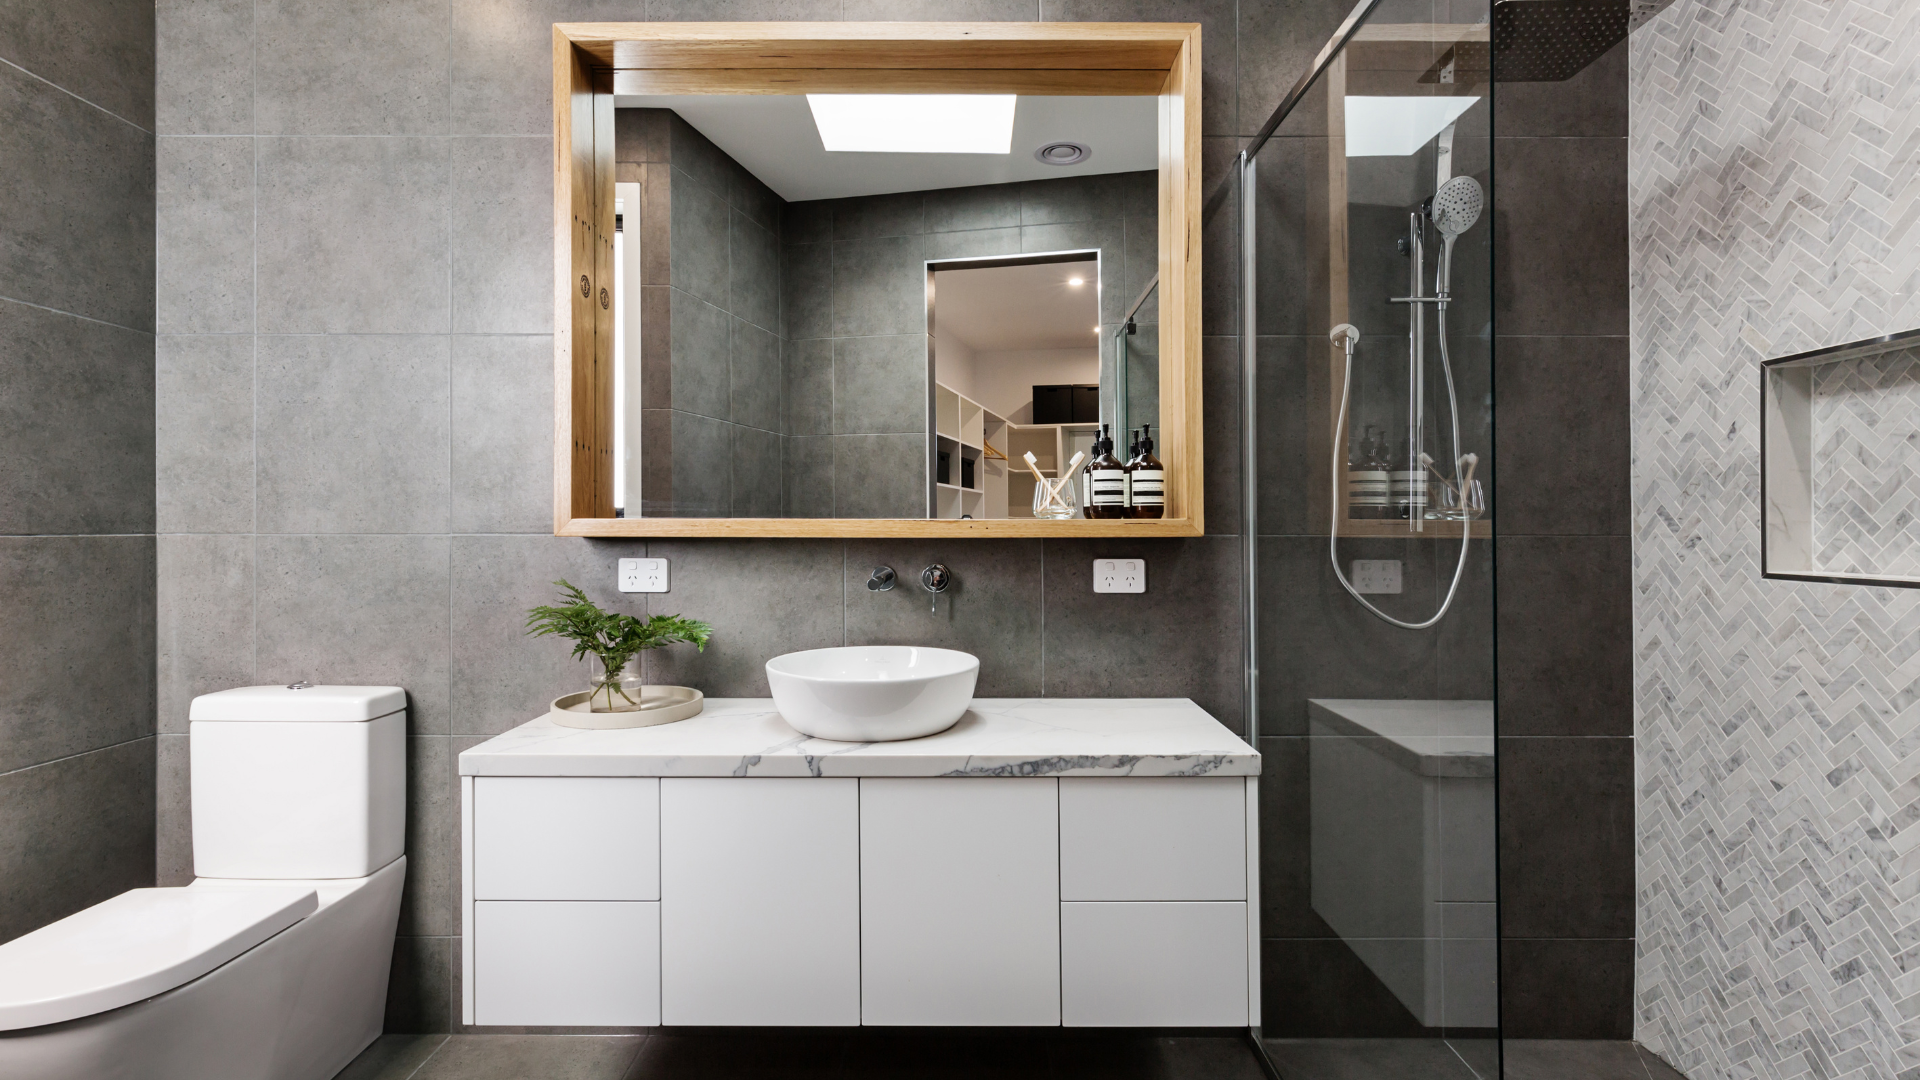
Check for Moisture Issues
Moisture problems can cause tiles to lift or grout to crack. Before installing tile, ensure the surface is completely dry and free of any moisture issues. This is especially important in areas like bathrooms or basements. If you're working on a floor, check for any signs of water damage or leaks beneath the surface. If necessary, use a moisture barrier or waterproof membrane to protect your tiles from future water exposure.
Repair or Replace Damaged Surfaces
If the surface you're tiling has cracks, holes, or damage, it's crucial to repair or replace it before starting the tile installation. Small cracks in concrete can be filled with a concrete patch, while damaged drywall should be replaced. Failing to fix these issues beforehand may result in problems down the road, such as tiles cracking or grout coming loose.
Use the Right Primer or Adhesive
In some cases, applying a primer or bonding agent to the surface can improve adhesion and ensure a longer-lasting installation. This is especially true for porous or difficult-to-bond surfaces like cement, plywood, or painted walls. Check the manufacturer's recommendations for the right primer or adhesive to use based on your surface type and tile material.
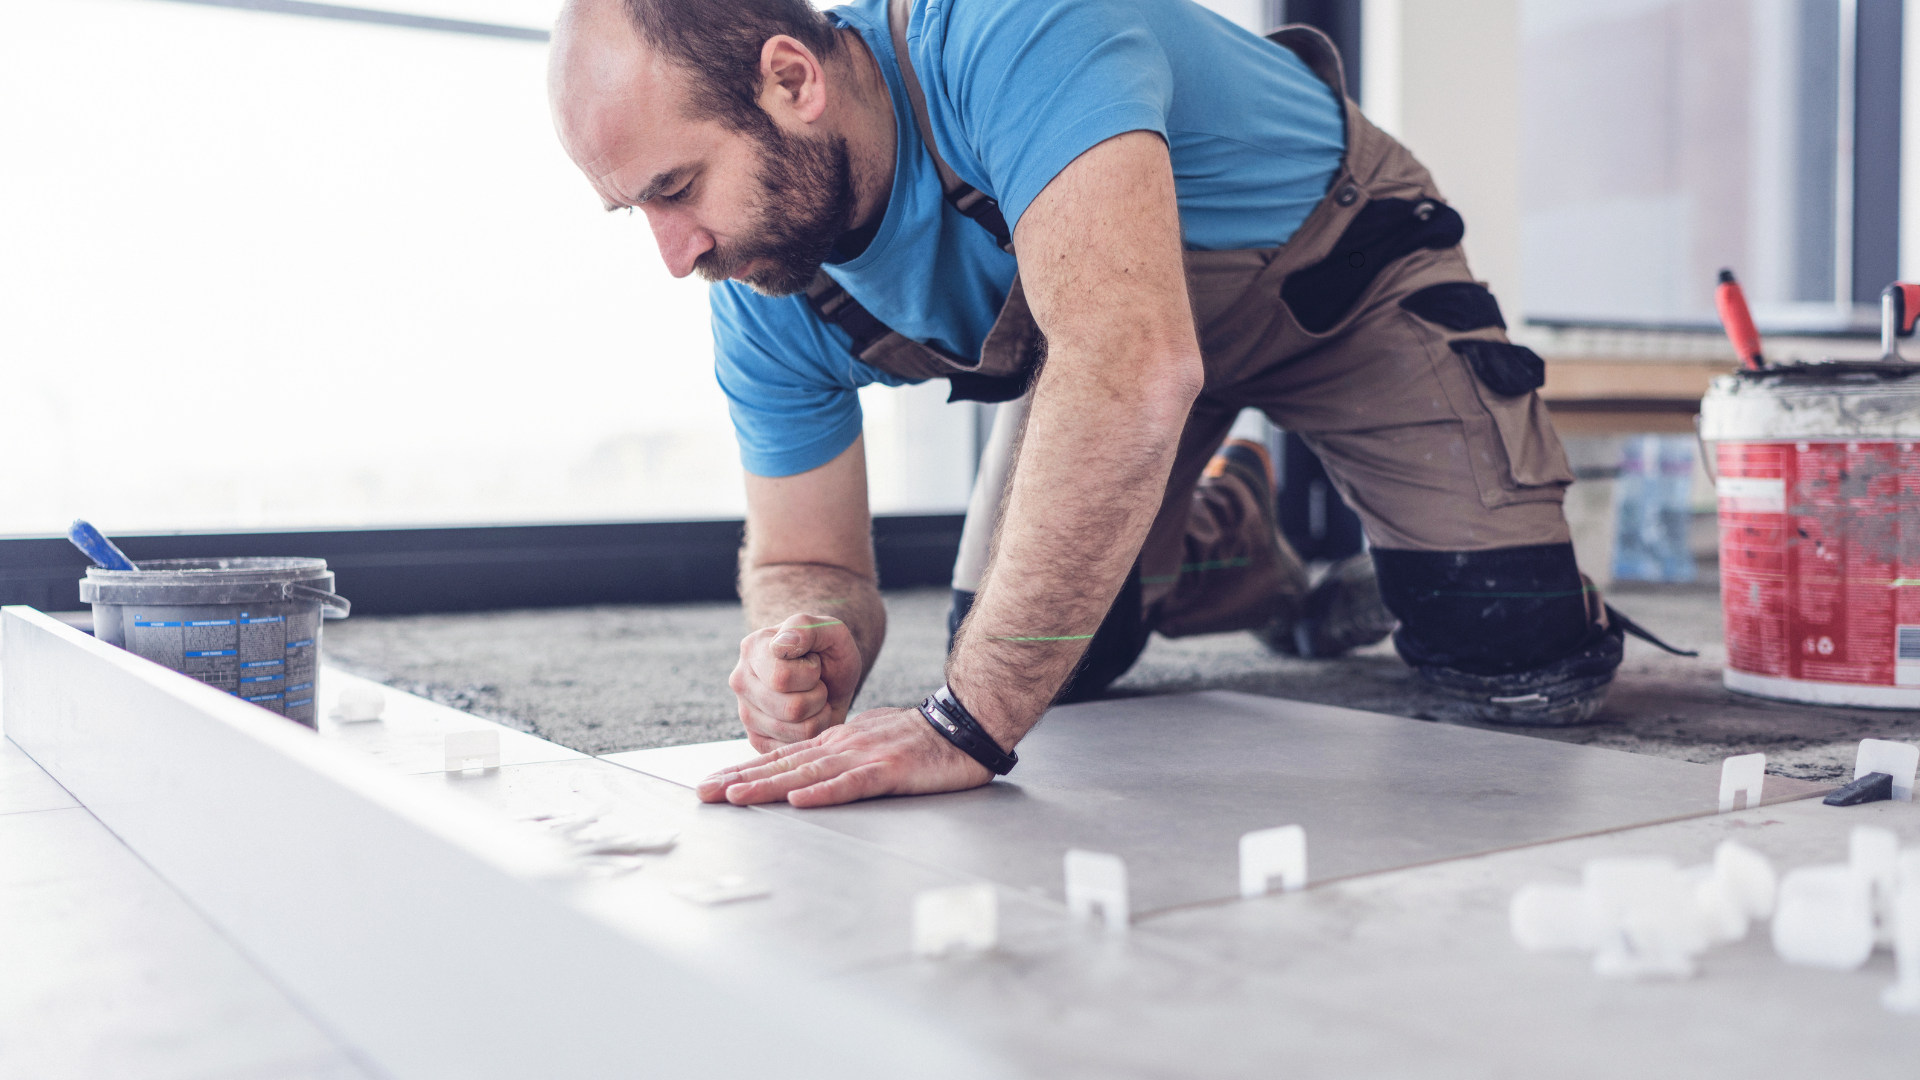
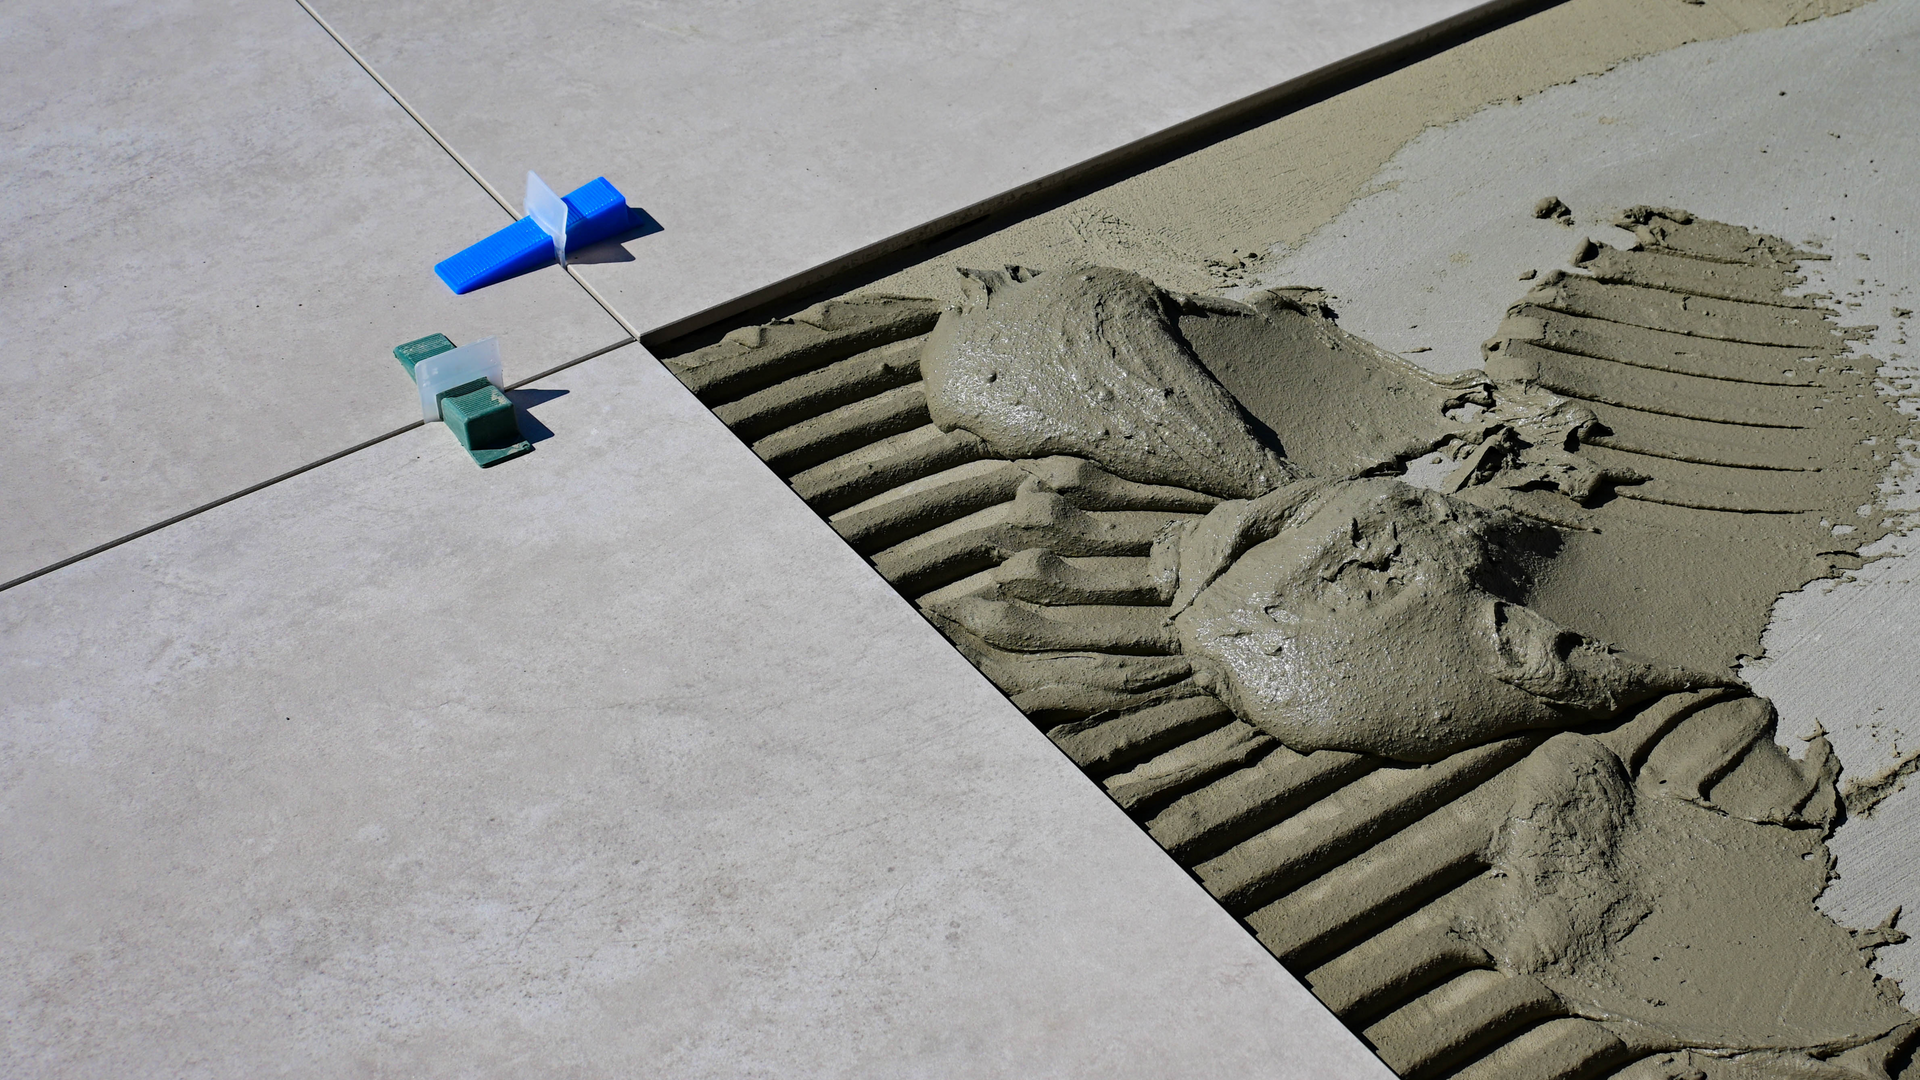
Measure and Plan Layout in Advance
Before applying any adhesive, it's helpful to plan the layout of your tiles. Measure the area carefully to determine the best tile arrangement, ensuring the tiles are evenly spaced and aligned. For larger spaces, use a chalk line or laser level to create a guide for your first row of tiles. This preparation step will help prevent the need for last-minute adjustments, leading to a more professional result.
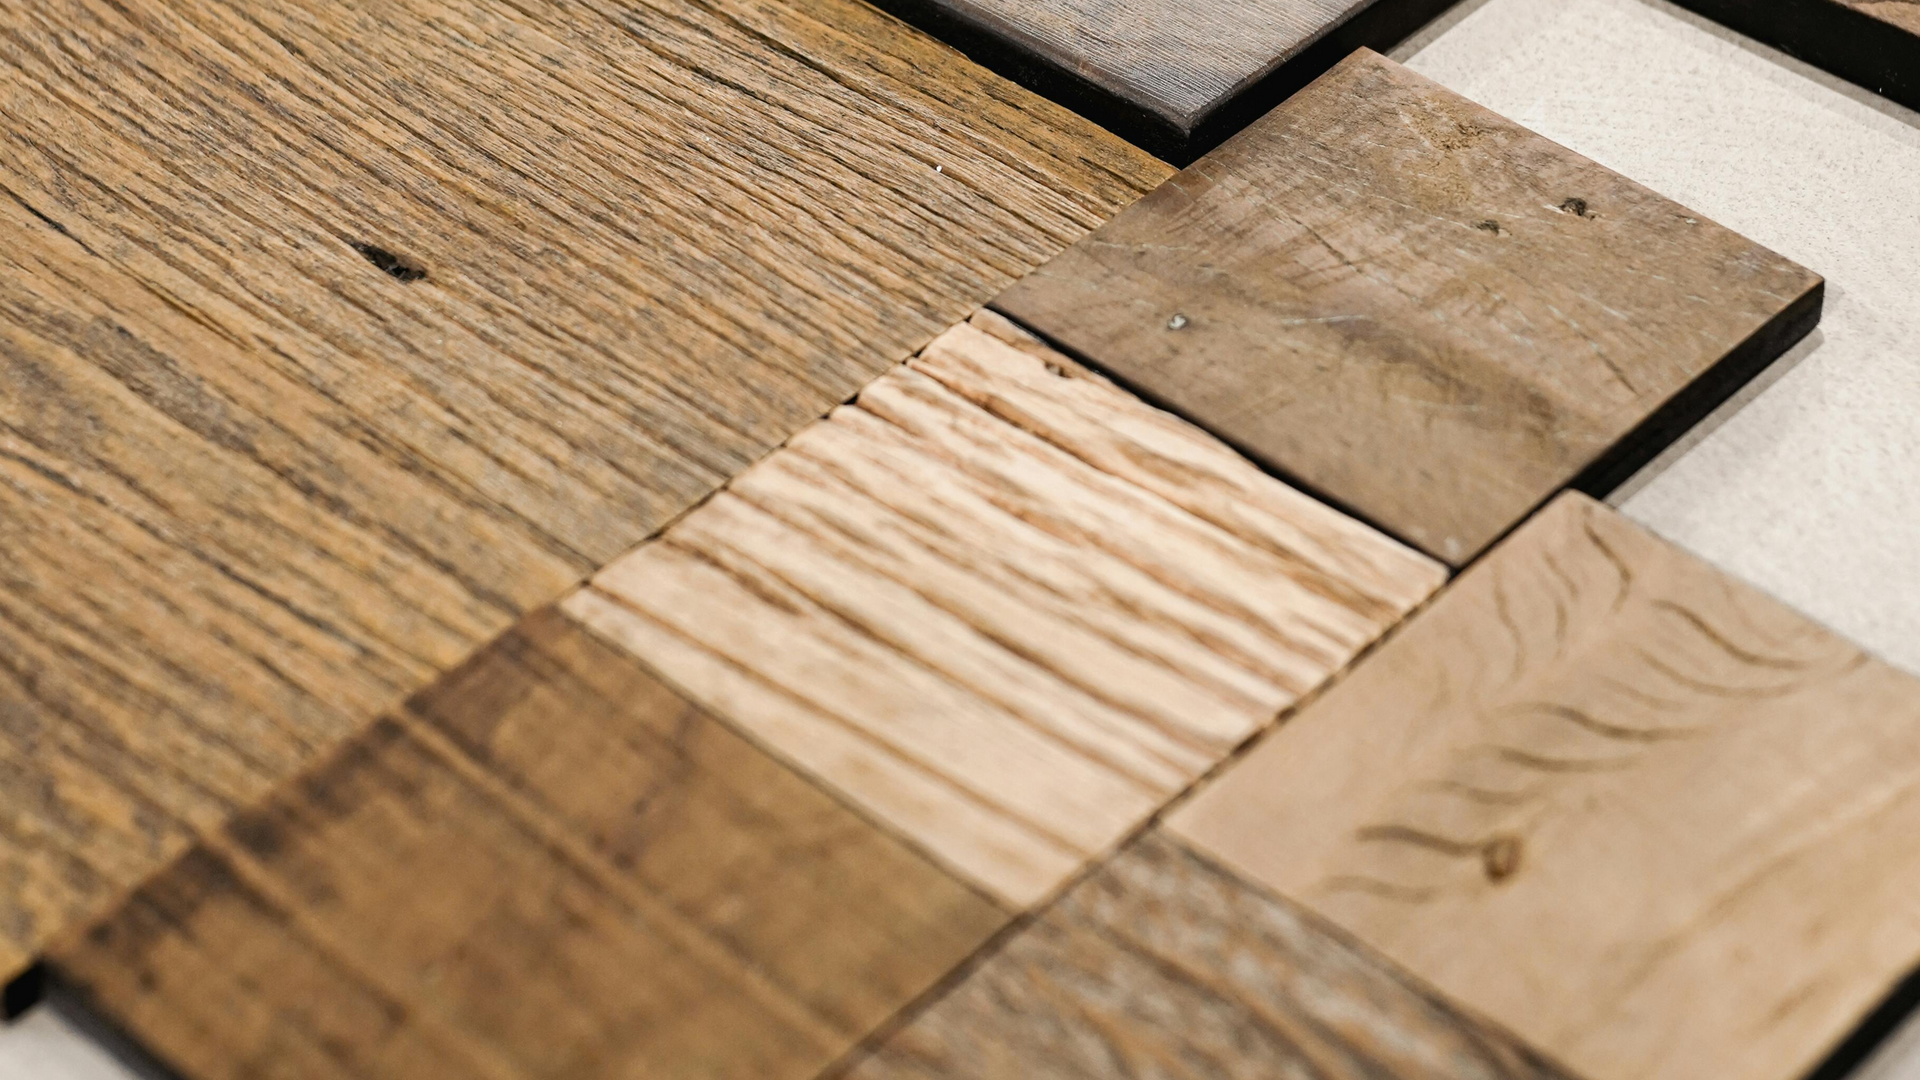
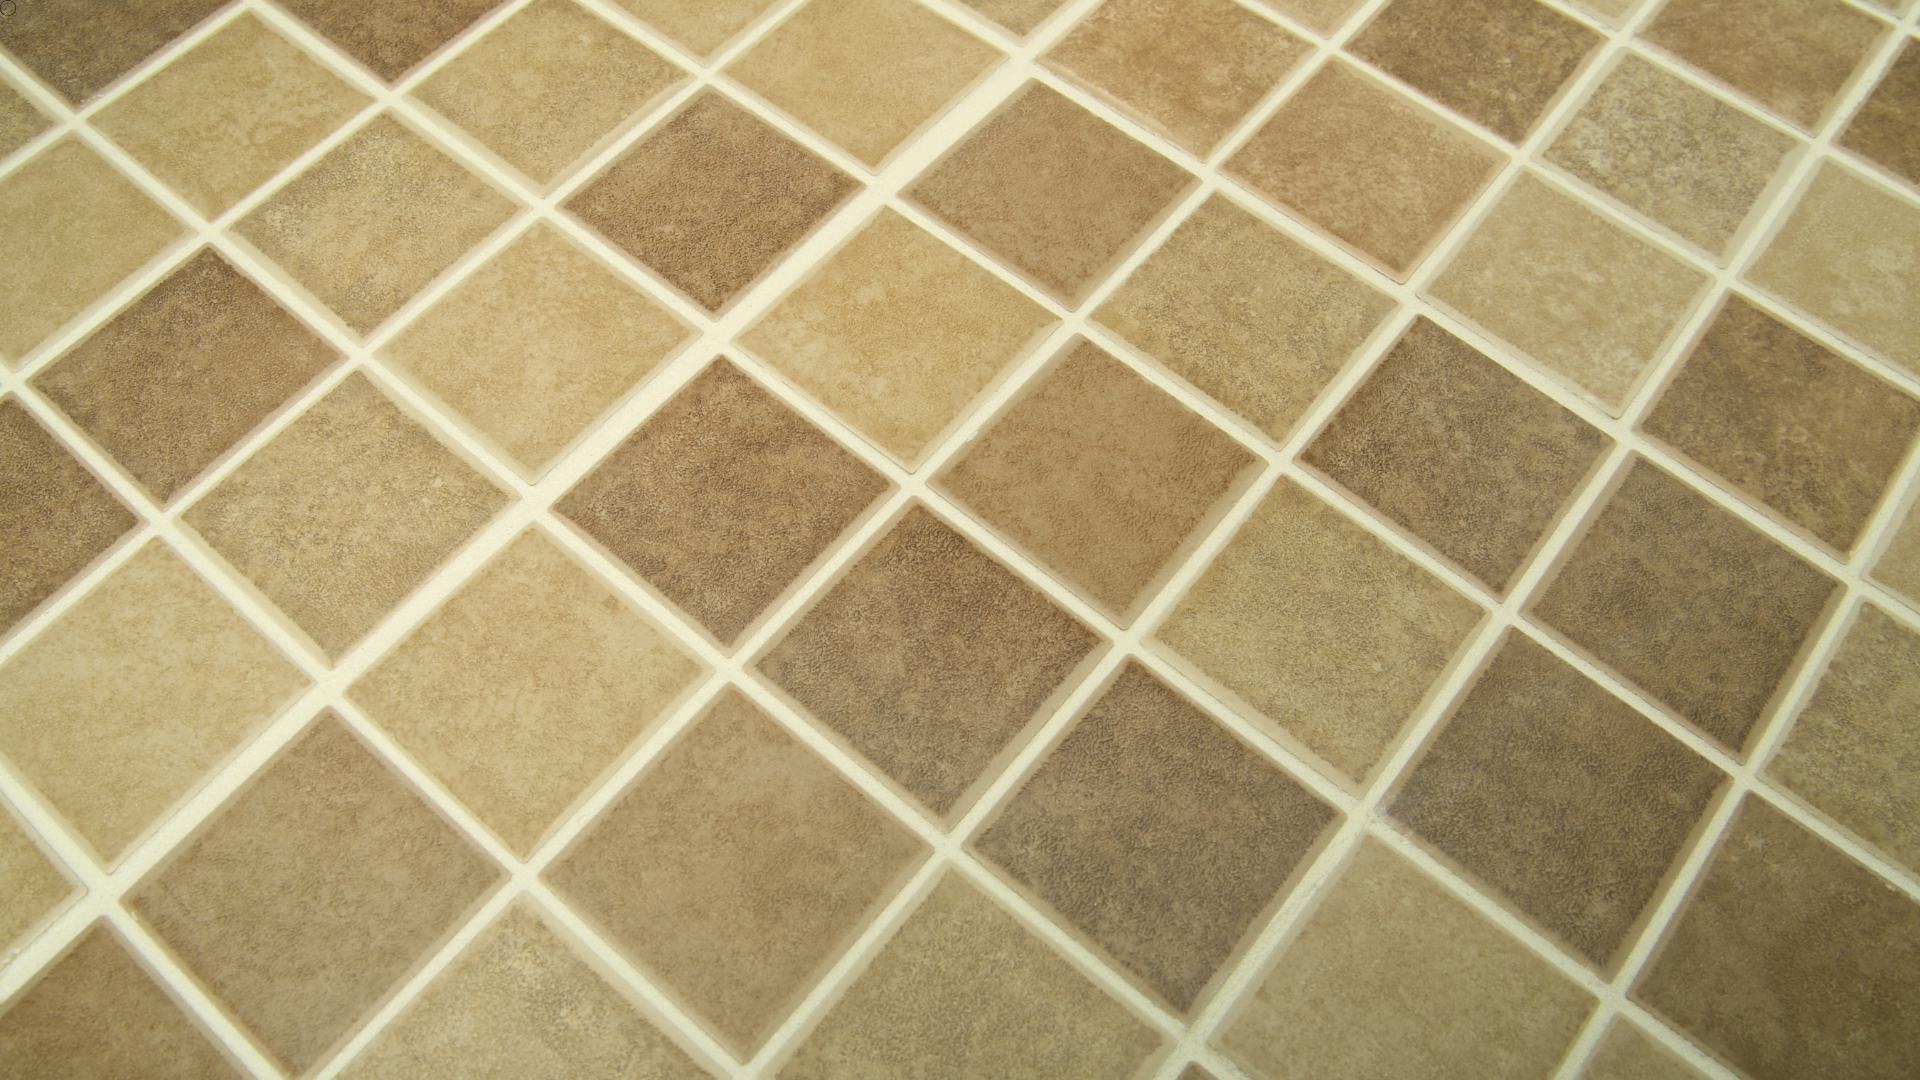
Consider Surface Type and Tile Compatibility
Not all surfaces are compatible with all types of tiles. For example, ceramic tiles might be perfect for drywall, but porcelain tiles require a sturdier, more moisture-resistant surface. Make sure the surface you're tiling on is appropriate for the type of tile you've chosen. If you're tiling a floor, ensure the subfloor is strong enough to support the weight of the tiles.
Allow Time for Surface Preparation
Surface preparation can take time, but it's essential for a successful tile installation. Don’t rush through this step; taking the time to properly prepare the surface will result in a more durable and visually appealing installation. Plan ahead and give yourself plenty of time to clean, level, and repair the surface before starting.
By following these surface preparation tips, you'll ensure your tile installation goes smoothly, with lasting results. Proper preparation sets the foundation for a flawless finish and helps avoid issues down the line.